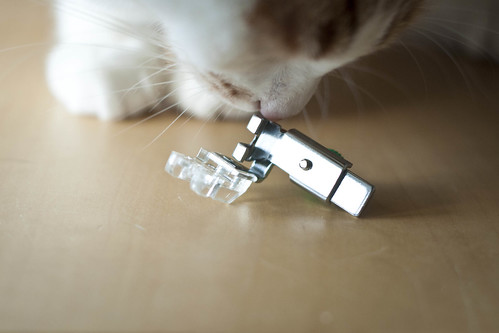
In anticipation of my first skirt project, I ordered an invisible zipper foot for my sewing machine. It turns out that the place to go for Janome parts in Vancouver is actually the Pfaff store... I didn't realize they were affiliated! In any case, that's great for me because it's right on Granville, smack dab in the middle of my commute home. I was worried this foot would be expensive, but it only set me back twelve dollars. Win!
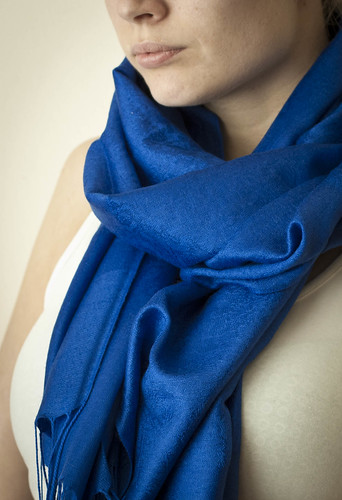
A few doors down, there was a carpet store with a few going out of business sale signs in the window. Now, I'm not in the market for a carpet, but they had a rack of pashminas outside. Upon closer inspection of the goods (and the signage), I realized that this was something I've been seeking for a long time: REAL pashminas. Affordable ones. Clearance sale, twenty five dollars each, 60% pashmina and 30% silk. I almost bought a beautiful champagne-coloured one, but it had a very visible knot in it, so I went with this bright blue instead.
I've been looking for one of these ever since I stupidly elected not to buy one in the markets when I was in Hong Kong. I've regretted that ever since! If you're in Vancouver, a natural fibre junkie like me, and in the market for a genuine Pashmina, check out Caspian Carpets on Granville. There are quite a few pretty colours to choose from. (Probably not for long, though!)
In other news: Pendrell 2.0 is off to a smashing start. Sleeve alternations look very promising. Keep an eye out for finished photos in the next day or two!
Friday, March 25, 2011
Wednesday, March 23, 2011
Crescent Skirt Sew-Along: I'm In
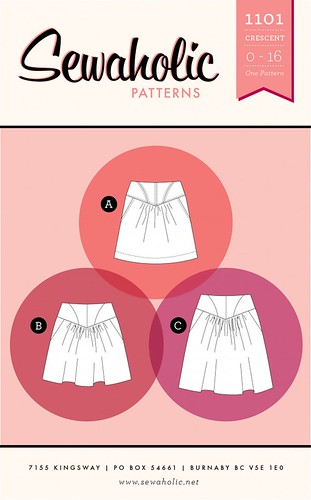
I was so excited to see that Tasia at Sewaholic Patterns has released her newest pattern, the Crescent Skirt.
I debated whether or not to buy/make this pattern. On one hand, I love the gathers and the the slash pockets. (Pockets in dresses and skirts are my absolute favourite design detail.) On the other hand, the v-shaped yoke doesn't really sing to me, personally. However, after a little bit of thought I realized that changing the v-shape to a gentle curve won't be the hardest alternation in the world, so I went for it.
Actually, who am I kidding? It was definitely the announcement of the sew-along that sealed the deal!
I'm guessing from the size chart that I'll also have to grade the yoke from an 8 at the hips to a 10 at the waist, seeing as I'm not a pear, but that shouldn't be prohibitively challenging either. Definitely starting off with View B.
I'm excited to receive this pattern in the mail. Anyone else sewing along?
Tuesday, March 22, 2011
Crisis: Averted
I went to cut out the pieces for my Pendrell 2.0 yesterday, and I nearly had a heart attack when I realized I hadn't purchased enough fabric! I'd taken the nice fellow at his word when he told me (the last time I was there) that the silks were 60". Although, perhaps I'm not being fair. In truth, I think what he said was that most of the silks were 60". Whoops!
So here I am with 44" fabric and only 2 metres of it, rather than the recommended 2.5 metres. Thankfully, it looks like the fabric requirements are generous because I was able to fit it all in - although it was definitely a tight fit!
So everything's now cut out and ready to go. I "re-drafted" the sleeve ruffle (and by "re-drafted" I mean "added an inch here and two inches there...") to see if I can get a little more of a sleeve this time around, but I figure if it doesn't work out I can just use the original pattern piece and cut it back down to size.
Sewing tonight!
Friday, March 18, 2011
In Defense of Horizontal Stripes
I love stripes. Particularly horizontal stripes. A good striped long-sleeved tee or cardigan or sweater... I swoon. The potential for exciting colour combinations aside, I just think they're beautiful. (Yes, boring old stripes = beautiful. I'm far more interested in lines and patterns than I am in florals.)
The funny thing is, despite what people say about horizontal stripes, I've always felt good in them. Even back when I was younger and heavier and less confident. And now, whenever I put on my favourite striped shirt, I feel incredibly sexy. Why is that? This goes against all the "rules," doesn't it?
Well, imagine my surprise when I discovered this while reading through my Reader's Digest Complete Guide to Sewing (1979):
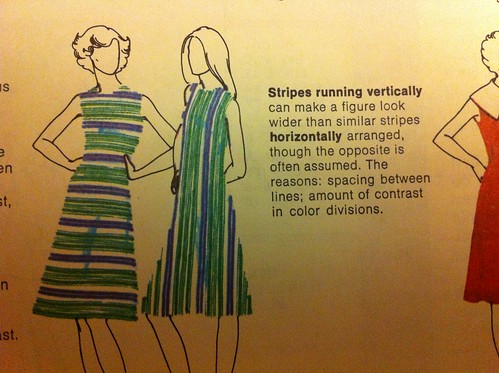
Stripes running vertically can make a figure look wider than similar stripes horizontally arranged, though the opposite is often assumed
Some Googling has verified that there are studies to support this:
Vertical stripes 'less slimming'; Wearing horizontal stripes can actually make a person appear thinner, a university research project has found.(Source: BBC)
Now, here's the thing... ultimately, I don't really care. I'm past the point of obsessing about being slim, you don't need to be slim to be drop dead gorgeous, and I think everyone should just wear clothes that make them feel good. But it's still somewhat fun to find research that validates something that you've always felt to be true.
The funny thing is, despite what people say about horizontal stripes, I've always felt good in them. Even back when I was younger and heavier and less confident. And now, whenever I put on my favourite striped shirt, I feel incredibly sexy. Why is that? This goes against all the "rules," doesn't it?
Well, imagine my surprise when I discovered this while reading through my Reader's Digest Complete Guide to Sewing (1979):

Stripes running vertically can make a figure look wider than similar stripes horizontally arranged, though the opposite is often assumed
Some Googling has verified that there are studies to support this:
Vertical stripes 'less slimming'; Wearing horizontal stripes can actually make a person appear thinner, a university research project has found.(Source: BBC)
Now, here's the thing... ultimately, I don't really care. I'm past the point of obsessing about being slim, you don't need to be slim to be drop dead gorgeous, and I think everyone should just wear clothes that make them feel good. But it's still somewhat fun to find research that validates something that you've always felt to be true.
Monday, March 14, 2011
Aquaphobia Socks
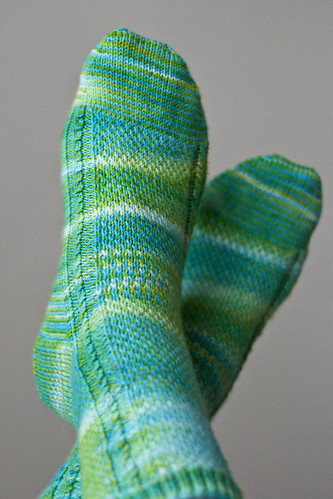
This FO felt like it was a long time coming, but it was well worth the wait.
The Details:
Pattern: Aquaphobia Socks by Crystal Smith
Needles: US1(2.5mm) 36" Addi Turbo circulars (dislike!)
Yarn: SweetGeorgia Yarns' Tough Love Sock (80% wool/20% nylon) in Lakeshore Drive
Gauge: 10sts/inch in the slip stitch pattern
Cast on: February 4, 2011
Bound off: March 14, 2011
Total # of stitches: 30,728 (or thereabouts)
I absolutely love this pattern, although it was a bit slow-going with all of those slipped stitches. It fit like a dream without any modifications, which was particularly nice! My favourite part is that the pattern didn't need following, at all - it's straightforward enough that you can simply read your knitting. Win.
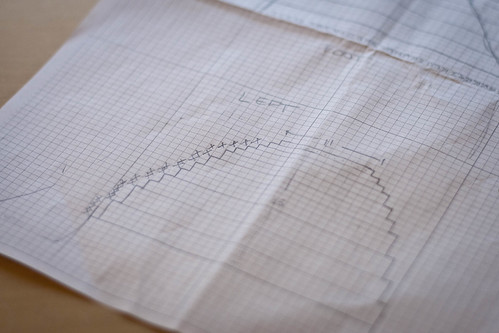
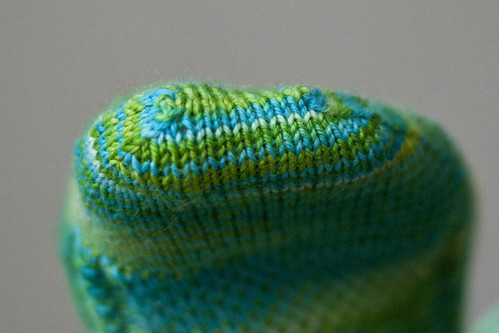
The only complaint I had with the pattern was some rather vague toe instructions. Although, it eventually became clear that I'm just a picky knitter (and sock-wearer). I tried and frogged three toes before settling on this one, and it was definitely worth it. This is a moderately anatomically correct toe, created simply by tracing the outline of my toes on some knitter's graph paper. (Good instructions here.) I didn't go as correct as I could have - a first try let me know that I didn't want such a close fit. So the effect is rather subtle, but so much more comfortable for me than a traditional toe.
During my research on the subject of toes, I also discovered a really handy trick to make the edges of the graft much prettier. Once you're done your knitting, but before you start grafting, pass the end stitches on both ends of each needle over the stitches beside them, toward the centre of the graft. You'll end up with four less stitches to graft, but the result will be so much neater. (Rox on Ravelry describes this more accurately here and here.)
I knitted these on one of my few pairs of Addi Turbos, and was reminded that I don't really care for these needles. On the occasion that a stitch would slip off the needles, the tips were too blunt to recapture it! So I'd have to use the tip of a stitch holder or a tapestry needle. How silly. I'm anxiously awaiting the delivery of some sock-sized KnitPicks Harmonies.
That small irritation aside, I had so much fun knitting these. My feet are very happy tonight.
Saturday, March 12, 2011
Sencha: Muslin
Today was a quiet, beautiful day. I spent most of it on craft preparations. I wound nine skeins of Berroco Ultra Alpaca (six worsted and three fine), ironed the fabric for Pendrell 2.0 and Sencha, as well as some new muslin fabric (read: thrifted bedsheets).
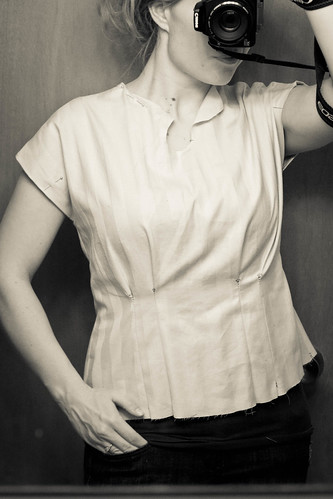
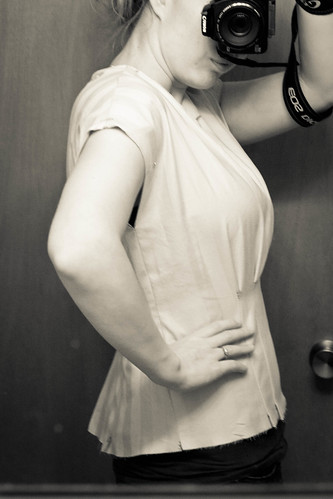
I also ended up completing my Sencha muslin. I'm between sizes, but I followed the advice of the pattern and cut the larger size (size 10). Here's the result:
The fit, in general, is about right. I'm happy with the amount of ease (I could perhaps use a pinch more in the bust, but not much.) However, what the photo above might not illustrate properly is that the front is several inches shorter than the back. I'm not sure if that's inherent to the design, or a consequence of my own figure? Regardless, I would like to fix it, particularly because the blouse as-is (i.e. un-hemmed) is about an inch shorter in the front than I would like the finished blouse to be.
I'm inclined to place the blame on my bust. I know Colette patterns are designed for a larger bust (C instead of B?), but that's still several cup sizes below what I wear. At any rate, doing an FBA would certainly add length without distorting the bottom of the blouse... in fact, that's the only way I can figure on solving this. I'm not keen on adding any ease to the waist, so I would have to go down a size before making the adjustment.
Clearly, I don't really know enough about fitting yet, so if I'm way off track please do leave a comment and let me know. Or, if you think I've got it right, I'd love the affirmation! I'm going to sleep on it and read up in Fit For Real People in the meantime.
Friday, March 11, 2011
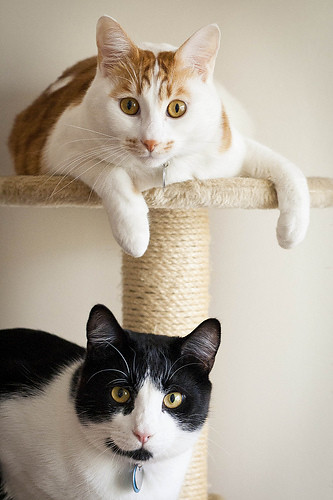
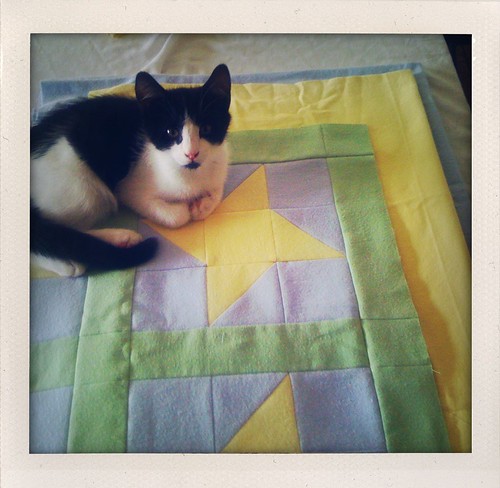
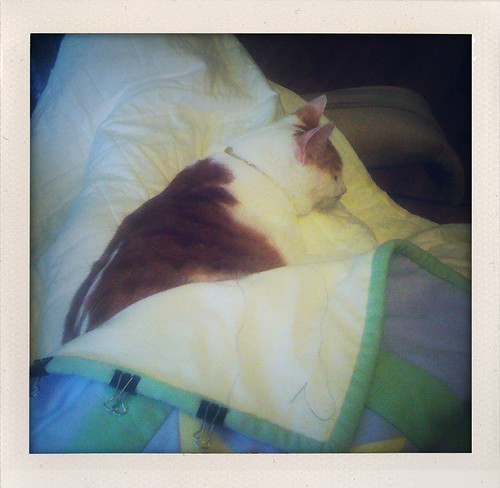
Introducing: The Assistants
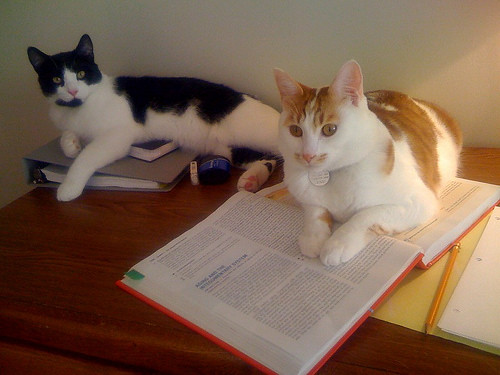
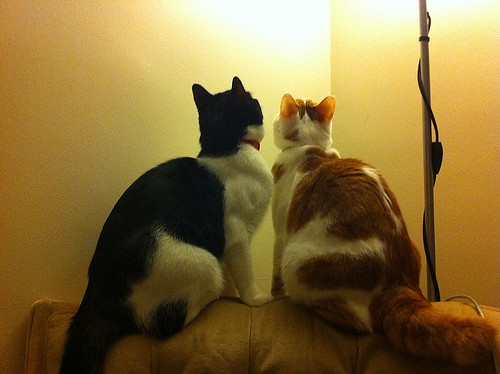
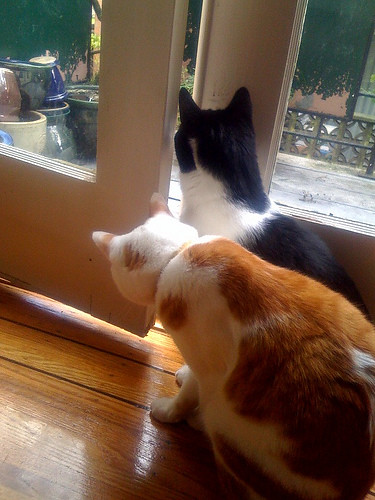
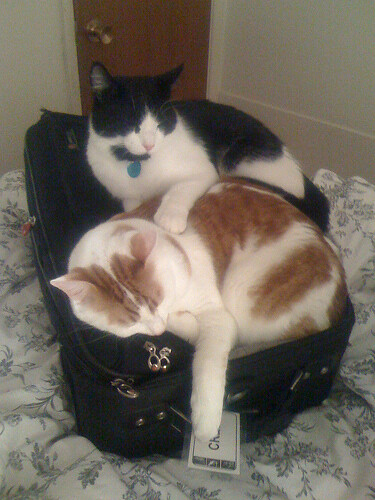
I have this little resource that every sewist should be so lucky to have: two dedicated sewing assistants.
In fact, they assist with most aspects of my life. For example...
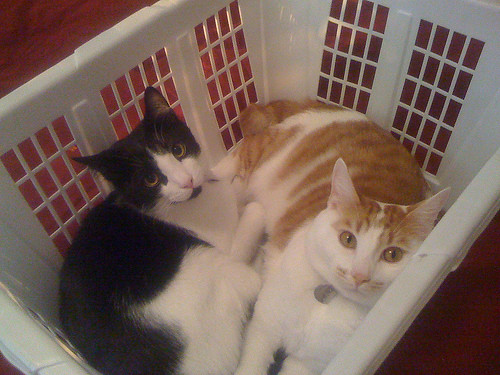
Helping with laundry:
Helping with homework:
Helping with pest control:
Helping with home security:
Helping with packing:
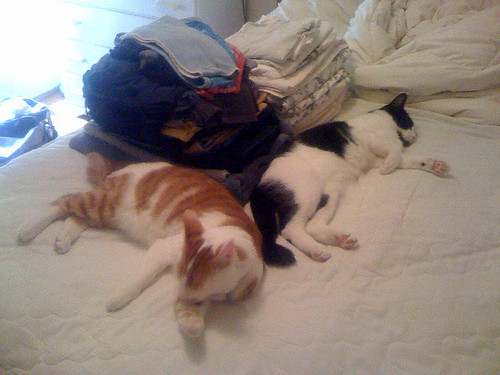
But, most of all, they really like helping with sewing:
(They do not, however, assist with knitting. Under any circumstances. Not since The Yarn Stash Incident of 2009. Hobbes is a recovering yarnaholic.)
Now, as much as I love my little helpers, nothing's free in this world. Nope, the price I pay for their generous assistance is a wardrobe that is constantly covered in fur. Seriously... nothing is safe. Even when something is carefully lint-brushed and hung to dry, simply walking too fast through our apartment is enough to set little kitty-hair funnel clouds swirling down the hallways, smashing into poor unsuspecting garments. Really, it's a problem.
So, dear readers, I beg you: if I happen to mention wanting to to sew something in black, please give me a sanity-check and ask if it really might be prettier in grey. Or beige. Or, you know... any colour other than black. (Slippery fabrics and special-occasion dresses may be exempt.)
All three of us thank you in advance ;-)
Wednesday, March 9, 2011
Pendrell 2.0: Planning
Yesterday, over Twitter, the lovely K-Line suggested that perhaps the FBA was unnecessary on my Pendrell. I have to admit, I'm pretty proud of how that turned out, so my knee-jerk reaction was, "no way!" However, after sleeping on it, I'm starting to wonder if she was onto something. I do love a good flow-y top that's forgiving in the waist... and that kind of top works well in charmeuse... and I'm not likely to be tucking this into anything high-waisted anytime soon...
... can you see where this is going?
I think I'm going to try making the top again, without the FBA and with slightly longer sleeve ruffles. Now, the only thing I'll need to decide is: what size to make?
I'm a bit perplexed on the subject of ease. Last time, I made a size 8. The FBA added 2" to the bust (but nothing to the waist because I removed the excess there). This means that my finished blouse has 2.5" ease in the bust and 5.5" in the waist. That doesn't sound like a lot in the bust, does it? But it doesn't look/feel too tight.
If I make a size 10, I'll have 2" of ease in the bust and 7" in the waist. That's 2" less than the designer intended for the bust, but spot on for the waist. (It's also 0.5" less in the bust than my first Pendrell.) However, if I were to go up to a size 12, I would have the recommended 4" of ease in the bust, but 8.5" in the waist. And who knows how wide the shoulders would be. (The size 8 shoulders fit perfectly.)
(Of course, the other alternative would be to make the size 8 again and do the FBA but don't remove the excess inches added to the waist. That would give me 2.5" ease in the bust and 7.5" in the waist.)
The mind, it boggles.
Thoughts?
Tuesday, March 8, 2011
Pendrell: Done!
Well, this was a long time coming!
I'm on the fence about the end result, but I'm happy I did it because A) sometimes it's fun to be fearless and do things that scare you, and B) I learned a lot of things.
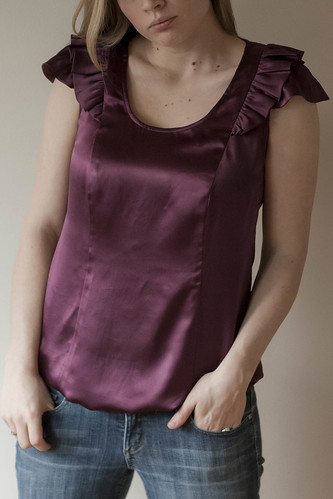
I only made a few alterations. First, I lowered the neckline. Very glad I did that. Second, I did an FBA and took in the waist/hips. Also very glad I did that. However, I regret lowering the full bust point. It seemed necessary on the muslin but was definitely unnecessary with the charmeuse - not sure if that's a difference in the behaviour of the fabric or if I simply "misread" my muslin. Oh well!
I'm relatively proud of my sewing, although it is sloppy in places. The neckline in particular. From a design standpoint, I wish the sleeve ruffles extended about two inches further down the front - so they would feel more like sleeves and less like... well, two ruffles perched on the top of a tank top. But that's just a personal comfort thing, not a criticism of the design.
Regarding the pattern: it is awesome! Such a refreshing change from working with The Big Three. Sewaholic (and all indie pattern companies) have my heart. Such a luxury.
So, overall, it's a bit of a wash. I'm not totally in love with it, but I learned so many things and I feel totally inspired to move on to the next! I'd love to make it again with the full-bust point restored and longer sleeve ruffles. But I think I'm going to try something new first!
Monday, March 7, 2011
Pencil Skirts: How Do They Work?
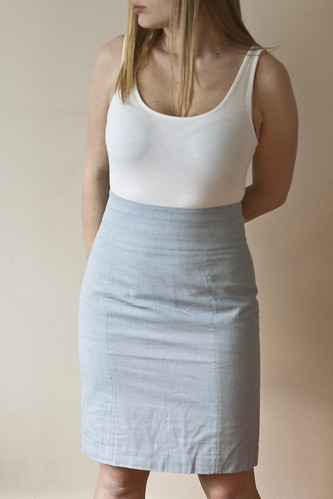
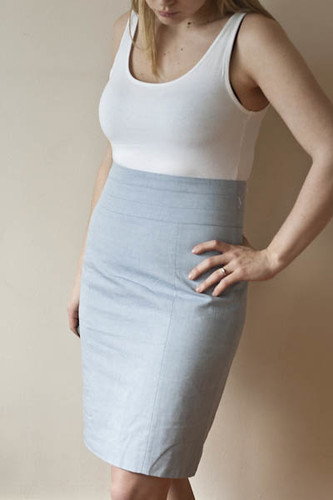
I bought my first high-waisted pencil skirt today. This is a funny area in the style/fit department for me: I think pencil skirts work with my body type but I'm not sure high-waisted does. However, this little number was too cute to resist. I figured it was worth bringing it home to analyze.
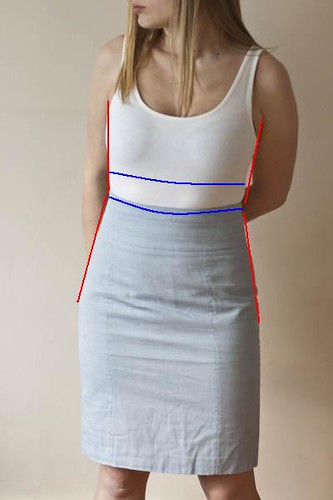
I have to admit, I think I'm a bit guilty here of picking the most flattering photo I took. Let's call the above the best-case scenario. For comparison, here's one that demonstrates my issues with the high-waist:
Generally, my issue is the fact that I'm short-waisted. That, and my rather large/low bust, means that a high waist only sits about two inches below an empire waist... which I just don't think is all that flattering. To my eyes, it tends to make me look more busty and less slim... which is sort of the opposite effect you'd want a pencil skirt to have, non?
Now, all that being said - I'm still not sure I bought this skirt in the right size. It's sitting a smidge above my natural waist and it's pretty snug... I can sit down, but barely. I'm wondering now if I perhaps should go back and try a larger size... it may sit better on my waist and give me a little more length, at the risk of becoming frumpy in the hips/thighs. Hmm.
Thoughts?
Saturday, March 5, 2011
Service & Repair - Resolved
Well, I picked up the serger yesterday and the experience was much more positive than I'd anticipated. They explained what was wrong, returned the broken part to me so I could see it, and provided samples serged with my machine to show that it's in good working order. The woman who was at the desk was the same woman who had taught my "learn to use your serger" class a few years ago, and she was as lovely as ever.
I did a little research and found that their service cost is the same (or better?) than other places in the city. I also found out that the cost of the repair was included in the service fee, I only paid extra for the part. And, upon bringing the machine home, it's serging charmeuse like a dream without so much as a single tension adjustment. Win!
So, all's well that ends well. I guess I'll just chalk it up to a slightly over-aggressive saleslady (or, perhaps one who just has a very different sense of value than myself.)
Now, to find out if the Pendrell can be rescued. Here's hoping!
Wednesday, March 2, 2011
Service & Repair
Well, I finally took my serger in for service on the weekend. I always hesitate to do this because it's so expensive. (How much does it cost in your part of the world? Around here it's about $80-$90, unless I'm being ripped off and don't know it.) I was a bit nervous because I thought there was something wrong with one of the tension knobs. That price above doesn't include parts and repair.
Well, I got a phone call today letting me know that something is indeed in need of replacing. Not the tension knob, though. Apparently, that bit that holds your needles on. Or something. I'm not really clear on that, actually. Which is part of the problem. It's a bit like taking your car to the shop when you don't have any clue how cars work, and they know you don't have any clue how cars work. So I just sort of have to trust that this part that I didn't notice anything wrong with is indeed broken... and pay an additional $70 to have it fixed. Dammit.
Here's the thing that got me about the phone call, though. She had phoned to get my approval, which I appreciate, because of the high cost of repair. But as part of that spiel, she immediately launched into advising me that the cost of the repair and service together is about equal to their valuation of my machine "5 years ago." Essentially, she was trying to get me to thinking about how my machine isn't worth fixing, and then conveniently started to tell me about my "options" for purchasing a new machine from them, while again reminding me that my machine is now essentially "worthless."
My serger isn't a young machine, and every time I look at needing a part for it, it does cost an arm and a leg. (edit: this is the first time it's ever needed a repair. The other parts I looked at were optional accessories.) But, here's the thing - it's a good, sturdy, mechanical machine. Provided it gets fixed, there's no reason it shouldn't keep on working. And, frankly, her logic about the cost is totally skewed - because A) I'm already on the hook for that $80-$90 service fee either way and B) a new machine needs servicing just as much as an older machine, so I'd be paying that regardless and C) just because they think my machine doesn't have resale value, that doesn't mean it doesn't have value for me if it still does a perfectly fine job of the work I need it to do.
In addition to feeling like my intelligence was insulted, my inner environmentalist is a little riled as well. I'm so tired of this disposable culture we live in, where we might as well chuck something rather than fixing it. Especially when it's an item like this - that was designed to be fixed rather than disposed of.
Ugh. It's possible I'm over-reacting, absolutely. But I think I might look into my other options for machine service next time around.
Subscribe to:
Comments (Atom)
