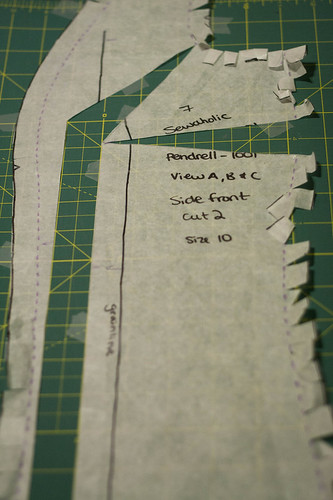
First, I traced my pattern pieces. Though the tracing seemed to take FOREVER, I'm so glad I didn't butcher my original pattern! Especially since I've never used this fit method before. I traced a size 10, based on both my high bust and waist measurements (36 and 30, respectively). Then, I pinned it together and tried it on:
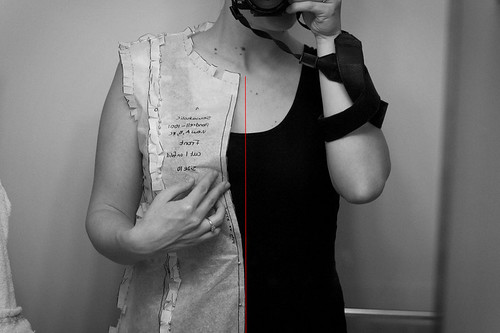
As indicated with the red line, and as expected, I need a full bust adjustment. (My full bust measurement is 38). Following the FFRP method, I unpinned the princess seam at the bust and spread the pieces until they lay flat. Then, I measured the distance between the two pieces.
In a startling moment of mathematical consistency, the distance was one inch - meaning two inches over the full garment. In other words, I'm increasing the bust to 38" - my measurement exactly. Go figure!
I did the slash and spread method as directed by FFRP. (If you don't have access to this book, the method is explained really well here.)


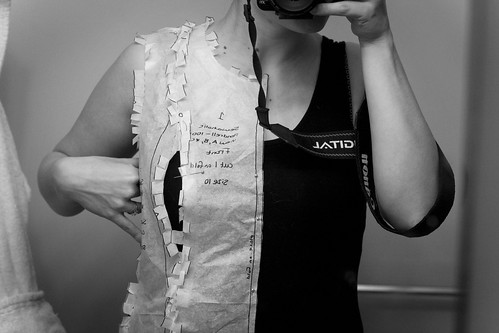
After that was done, I pinned it together and tried it on again.
Success!
(Please ignore the fact that I pinned it together backwards the second time! It shouldn't matter, but it did make photographing harder!)
I hit a small stumbling block during this process. I noticed that the FFRP method of full bust adjustment actually adds ease to the waist and hips as well. I was concerned about that, because at first fitting I thought the waist was fine and the hips perhaps a bit wide. However, once all was said and done, I think that both are fine - especially considering there's no zipper in this top.
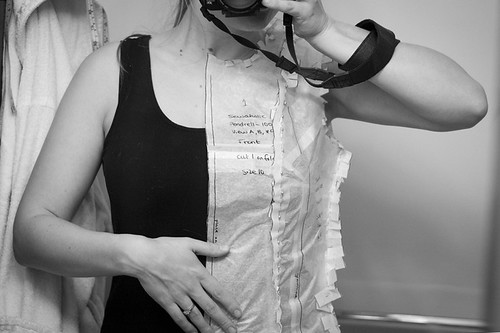
In truth, I actually spent a fair amount of time making adjustments to the waist and hip before finally ending up back where I started. If you have a keen eye, you'll notice the final photo features a nipped in side seam. (Confusingly, it also looks looser than the previous photo - that's because in the first photo the back piece is pinned in place, and in the second photo it isn't.) Regardless, in the end I took it out and it looked and felt much better, so I'm going to make up the muslin unaltered and see how it goes.
I'm definitely going to lower the neckline as well, and I'm already wishing I had a french curve. I've been using a tape dispenser in the meantime, which works about as well as you might think ;)
Next up: muslin!
Excellent! I have to do exactly the same as you. I measured my tissue last night and I will be doing a 1.5" FBA. Yours looks like it's going to fit really well.
ReplyDeleteI made up my muslin last night - the bust proportions are right but the overall fit isn't there yet. I'm about to write a post about it, I bet you'll have a laugh at the photos!
ReplyDelete:)