Thursday, January 20, 2011
Hey, Vancouver...
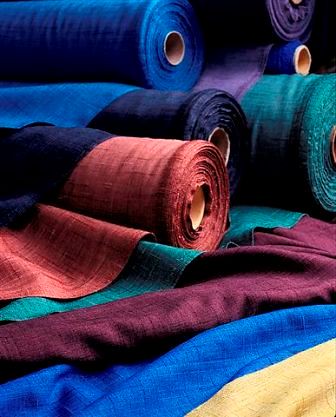
... just in case you haven't heard, Dressew is having an anniversary sale from February 1st-5th. Apparently it will be 50% off everything in the store! (I probably shouldn't be spreading this around, but hey, not many people read this little blog yet :D)
It could be a good opportunity to stock up on basics like interfacing or muslin, or perhaps indulge in nice silks or woolens. Hey, I think I just found the motivation to come up with my detailed sewing plan. Of course, that's provided it doesn't turn out to be a total hellish nightmare, a la their Halloween sale...
Saturday, January 15, 2011
Moderation

Remember when I drafted The Plan? I should - it wasn't that long ago! I wrote:
"It's also to exercise moderation and good time-management, and to avoid alienating the other members of my household and driving myself crazy."
It's amazing how quickly old habits come back. I've been lamenting not having another Pendrell progress report. But, the last few days didn't allow for any sewing, and now I've gone home to visit my Dad for the weekend. I have to remind myself - don't stress! Hobbies are meant to alleviate stress, not cause it!
I'll be back to sewing and posting when I'm able. In the meantime - happy weekend!
Wednesday, January 12, 2011
On Stashing: Volume II
When I visited Dressew the other day, I noticed that quite a few items had gone on sale. In particular, there were some beautiful 100% silk chiffon prints for $9.99/metre, and others simply labeled as "100% silk" for $7.99/metre. This got me to thinking again about my love of pricey natural fibres and my position on stashing. Is stashing worthwhile if it'll save you money down the line?
As I wrote before - I feel quite strongly that I'd rather have my money invested in the bank than in my closet. First, I want it to pay off my student loan! And if it's not doing that, I want it in an emergency fund. And if not there, how about a retirement fund? Down payment for a house? Or, if I'm going to spend large amounts of it - how about bigger luxuries like a car? Or a Bernina? (Hey, a girl can dream!)
Now, this is all a matter of personal comfort and preference. I don't mean to sound like I've got it all figured out. Not in the least! I've definitely thrown back my fair share of $5 lattes. I ordered some books and patterns this month that I probably didn't need. But you've got to pick your battles and, for me, it's easy to say no to fabric stashing because I have other reasons for not buying it.
But walking past all that on-sale-silk got me thinking: I know I want to be making some beautiful clothes this year, and I want to use natural fibers. That chiffon would make beautiful blouses and dresses, and some of that simple 100% silk would probably make great lining (thus helping me avoid the dreaded "is rayon natural?" debate.) Wouldn't it be smart to buy some now, rather than pay possibly twice as much down the line when I'm ready to start sewing?
Well, I still think the answer is mostly, "no." Because if you buy without a plan, you can't guarantee you'll use what you buy. And even if you want to, you can't guarantee you'll have the right amount. But on the other hand, those savings... what a shame to miss out on them!
So, I'm thinking the best strategy is to make a long-term sewing plan. Make a rough and realistic schedule, pick the patterns, figure out how much and what kind of fabric and notions are needed. And write it down. That way, when the sales present themselves, I'll be shopping with a list instead of on a whim. And it doesn't feel so much like "stashing" when there's a plan in place.
What do you guys think? Do you shop with a plan? Or do you indulge in fabric spontaneously, the way I indulge in sweet treats and coffee?
For those who are curious, I had great success fitting my second Pendrell muslin. Keep an eye out for a post about it soon!
Tuesday, January 11, 2011
Pendrell Blouse: Muslin #1
Well... I was wrong. I put together my muslin last night and the fit is way off!
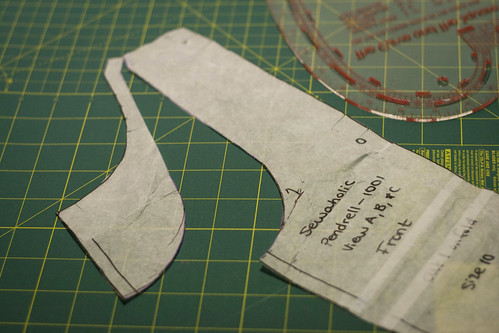
First, I took a quick trip to Dressew and bought a french curve. Best $2.99 I've spent all week! Upon using it, I realized my tape-dispenser method wasn't as bad as I thought, but the curve is still a much cleaner way to go about things.
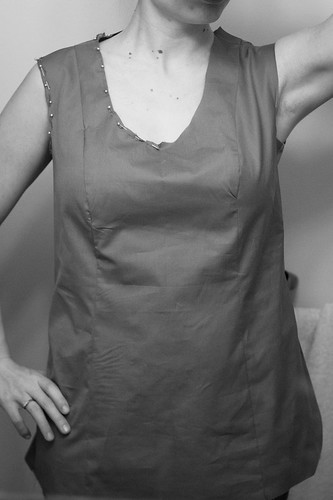
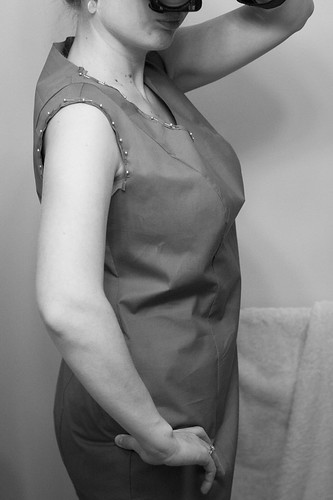
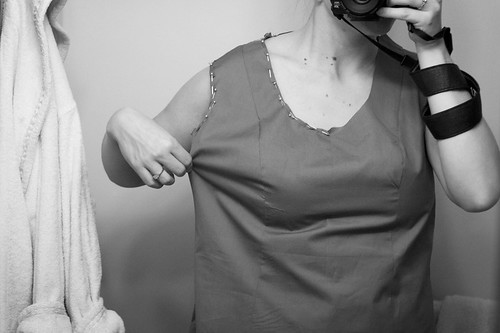
After taking care of that last change to the pattern piece, I cut out and sewed up my muslin. (Quite poorly, mind you. Please ignore the puckery princess seams and the fact that part of the shoulder seam allowance is on the outside. I'm not going for "wearable muslin" here, so I'm not concerned.)
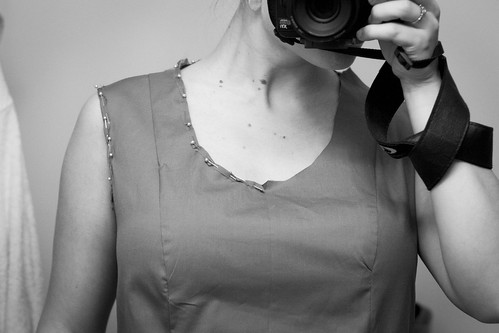
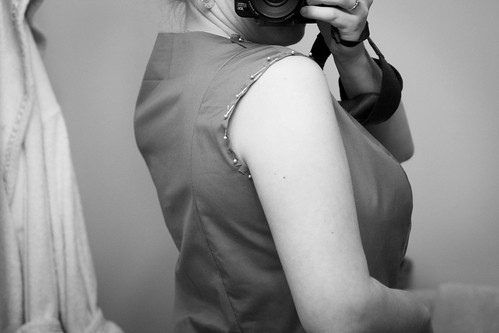
First, let's take a look at what I like. I pinned down the neck and shoulder seam allowances on one side so I could get a better idea of how the finished piece would sit. I love the look of the princess seams down the shoulders, and I'm definitely happy that I opened up the neckline. The width of each strap (is that the right word? Or shoulder?) is perfect, and the full bust adjustment seems to have resulted in good proportions.
Next, what I don't like. Mainly: the fact that it's way too big!
I know this top needs to have some ease due to the lack of closures. Also, I know it'll hang differently once I make it up in charmeuse. But seriously - while the proportions are right, even the bust is ridiculously large.
To think - when doing the tissue fit, I'd actually been worried it would come out too small! I suppose I can see how experienced sewists bypass the muslin and go directly from tissue to final garment, but I'm so glad I went about things the practical way this time. I couldn't have been more wrong.
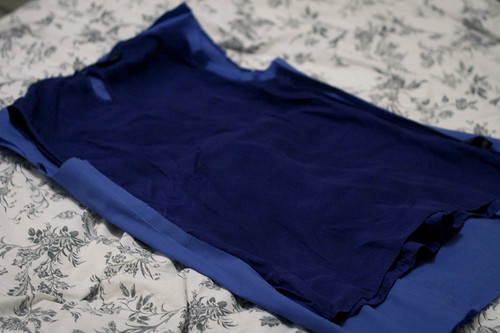
To get an idea of how it should fit, I laid out my favourite ready-to-wear silk blouse on top, which is a similar silhouette and also lacks closures. It was almost comical.
There's about two inches of extra fabric on the muslin on each side - about four inches total. Yikes!
So, the next step is to figure out how I want to deal with this. I know that part of the problem is those two added inches from the FBA. But there's at least another two inches to be shaved off as well. I'm not sure if the best move would be to simply remove the inches from centre of the back and front centre peices, or if I should start from scratch and cut a smaller size?
In truth, I think width of the back from armhole to armhole is too wide (I couldn't get a photograph myself, but when standing straight there's vertical creasing by the armholes in the back), and I think the princess seams could stand to move inward a smidge, so I'm going to try the easy route and simply remove the excess from the font and back pieces on the muslin. If that doesn't look right, then I'll consider starting from a smaller size.
On the bright side - I forgot how fast sewing is! After years devoted to knitting, that's refreshing. (Because there's no worse feeling than realizing that you need to rip out an entire hand-knit sweater!)
Monday, January 10, 2011
Pendrell Blouse: Full Bust Adjustment
I started working on the tissue fit for the Pendrell Blouse this weekend, and I had a blast! I'm using Fit For Real People as my guide, and so far I can't sing this book's praises enough. Their methods just make so much sense! Well, with a few exceptions, which I'll elaborate on below. Anyway, here's what I got up to.
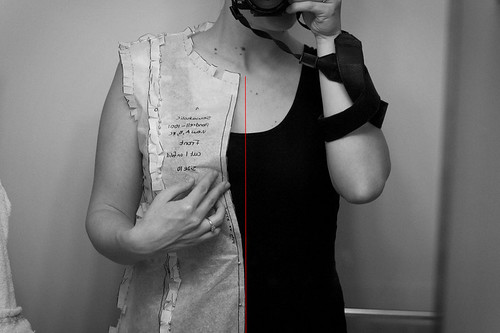
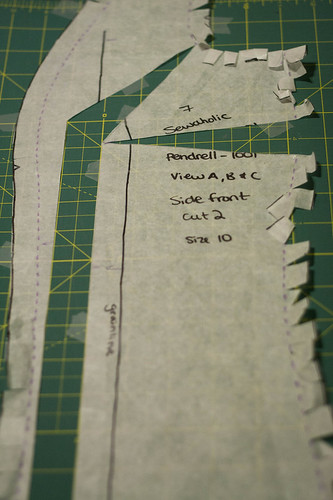
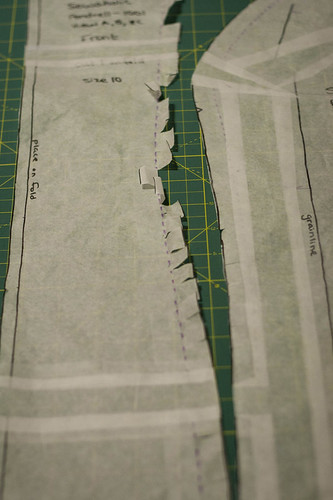
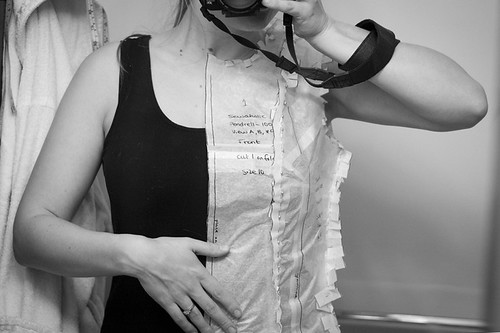
First, I traced my pattern pieces. Though the tracing seemed to take FOREVER, I'm so glad I didn't butcher my original pattern! Especially since I've never used this fit method before. I traced a size 10, based on both my high bust and waist measurements (36 and 30, respectively). Then, I pinned it together and tried it on:
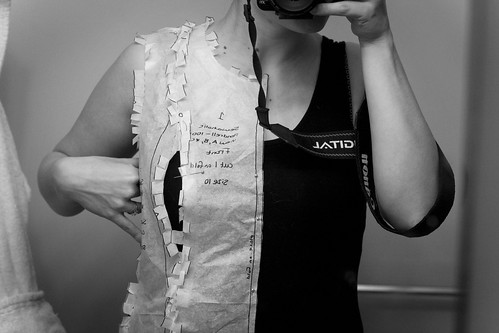
As indicated with the red line, and as expected, I need a full bust adjustment. (My full bust measurement is 38). Following the FFRP method, I unpinned the princess seam at the bust and spread the pieces until they lay flat. Then, I measured the distance between the two pieces.
In a startling moment of mathematical consistency, the distance was one inch - meaning two inches over the full garment. In other words, I'm increasing the bust to 38" - my measurement exactly. Go figure!
I did the slash and spread method as directed by FFRP. (If you don't have access to this book, the method is explained really well here.)
After that was done, I pinned it together and tried it on again.
Success!
(Please ignore the fact that I pinned it together backwards the second time! It shouldn't matter, but it did make photographing harder!)
I hit a small stumbling block during this process. I noticed that the FFRP method of full bust adjustment actually adds ease to the waist and hips as well. I was concerned about that, because at first fitting I thought the waist was fine and the hips perhaps a bit wide. However, once all was said and done, I think that both are fine - especially considering there's no zipper in this top.
In truth, I actually spent a fair amount of time making adjustments to the waist and hip before finally ending up back where I started. If you have a keen eye, you'll notice the final photo features a nipped in side seam. (Confusingly, it also looks looser than the previous photo - that's because in the first photo the back piece is pinned in place, and in the second photo it isn't.) Regardless, in the end I took it out and it looked and felt much better, so I'm going to make up the muslin unaltered and see how it goes.
I'm definitely going to lower the neckline as well, and I'm already wishing I had a french curve. I've been using a tape dispenser in the meantime, which works about as well as you might think ;)
Next up: muslin!
Friday, January 7, 2011
Silk Charmeuse: Prepping
So far, I've learned that the first challenge to working with silk charmeuse is deciding how to care for it.
I think it's important to get real with yourself before you invest in projects like this. Many people will tell you that silk is dry-clean only, but for me - that's never going to happen. I don't dry clean, as a general rule. I find it to be too expensive, too much effort, and I worry about the effect the chemicals have on my health and the environment. Also, I highly doubt there has ever been a girl more likely than me to spill water on herself, or to have her boyfriend unknowingly toss a silk blouse in the washing machine!
When I buy silk charmeuse or chiffon in ready-to-wear, I generally hand wash, hang-dry and steam the garments. I wasn't sure if there would be some sort of consequence in going this route when preparing the fabric. I was warned ahead of time that I might notice a difference in colour, sheen, drape and hand. But on the bright side, it would pre-shrink the fabric and eliminate any future worries about water-spotting. I decided to do a swatch and see.
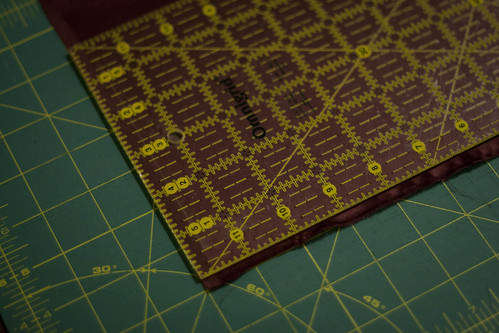
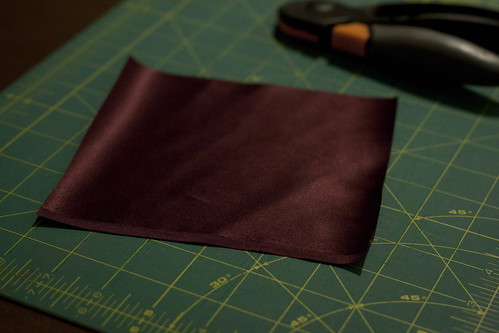
First, I cut a 6" x 6" swatch:
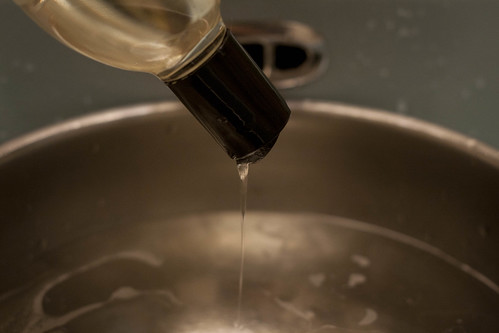
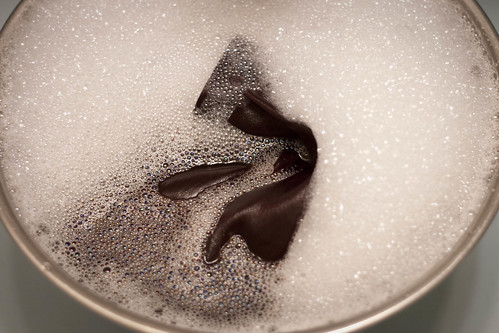
Then, I washed it in tepid water with Soak:
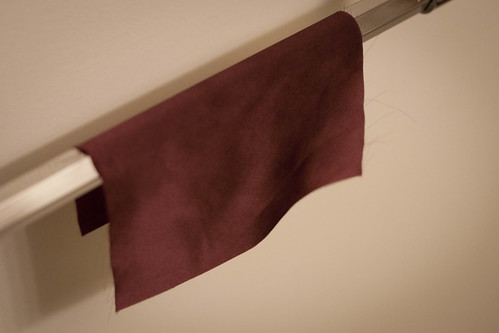
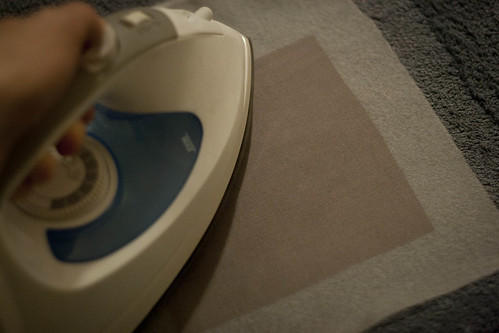
Finally, I hung it to dry and then steamed it like crazy under a silk organza press cloth:
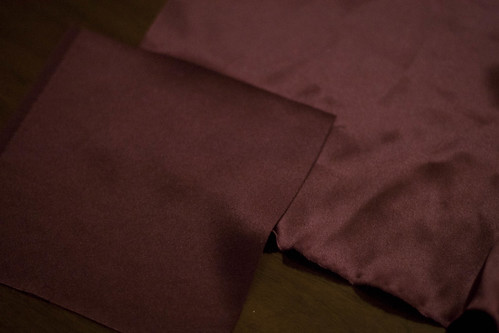
The result? The piece shrunk about 1/4" lengthwise and 1/8" widthwise, and any changes to the colour/drape/sheen/hand were barely noticeable to me. If anything, it's slightly darker and slightly sturdier, which I actually prefer.
(I had the piece oriented the wrong way in the photo above, so you'll have to trust me on the lengthwise/widthwise thing!)
The moral of this story? Don't always believe "dry clean only." After all, silk and wool were around for quite some time before the invention of dry-cleaning. (But definitely always do a swatch test first, to be sure.)
Thursday, January 6, 2011
On Stashing
Do you stash fabric?
I don't, and I definitely feel like I'm in the minority, at least from what I see around the blogosphere. I don't mean to sound like I'm judging those who do - on the contrary! I love living vicariously through others, drooling over the delicious fabrics they acquire. I've just never felt good doing it, myself.
It's partly a financial thing. I'm still paying off my student loan, and then I'll want to start saving for a house, and I just can't abide the idea of tying up hundreds (or thousands!) of dollars in fabric that will sit in my cupboard. It's partly a risk thing, too. What if the house burns down or floods? (Or gets robbed? Fabric theives!) But mostly it's a guilt thing. Once I buy fabric, I feel obligated to use it. It feels wasteful just letting it languish unloved in a closet. And it never fails that if I buy something "just because," the right project never materializes for it, and I never have the right type or amount of fabric on hand for the projects that I do want to make.
Sure, I know I'd be safe buying around 2.5 meters of almost anything, if I really loved it. But then that leads me right back to my first two points about money and risk. I'm definitely happier choosing a pattern first, and then buying my supplies. And ogling the stashes of others, in the meantime :)
I'm curious - are there any other non-stashers out there?
Wednesday, January 5, 2011
Fabric!
I bought the fabric for my Pendrell Blouse yesterday!
I almost went with black, as I thought that might be the most forgiving colour if I make any mistakes, and the most understated if I end up feeling that the blouse screams omgRUFFLES!!!. However, in the end I decided that it wouldn't be very smart, as I'll probably end up wanting to pair it with a black skirt or pants (can you see my sewing plans developing here?). So I went with some silk charmeuse in the most beautiful, rich shade of burgundy.
I also bought some simple broadcloth for muslin, which the owner knocked down to $2/meter. Nice! But, inexpensive as that was, I'm starting to wonder if it wouldn't be cheaper just to buy some old flat sheets from the local Salvation Army instead? (As a bonus: they'd probably have better drape!) I'll have to do some research, as our Salvation Army is usually ridiculously pricey and it may actually be more expensive to go that route.
All this fabric shopping has gotten me thinking about my philosophies on buying and stashing. I'm going to take some time to gather my thoughts on the matter - more on that in the next day or two!
Monday, January 3, 2011
Pendrell Blouse: Planning
I've decided that the Pendrell blouse will be my first 2011 project!
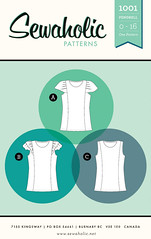
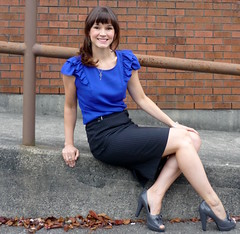
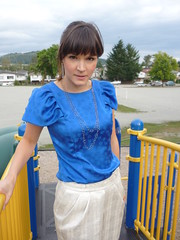
I'm definitely planning on making view B, modeled by the (local!) designer in this photo:
View A is also cute on the designer, but I can tell that the large petal sleeves are a style I wouldn't be comfortable in:
(Isn't it funny how small changes can really make or break a style for you?)
I do have a few reservations about making up this pattern. Specifically, body shape. I'm an hourglass with a full bust, whereas Sewaholic patterns are designed specifically for pear shaped women. I figure that this shouldn't matter too much with this pattern, seeing as there's no lower half and I'm likely going to have to get used to doing full bust adjustments. However, there's also the styling to consider.
I generally avoid high neckline styles intuitively, although there are some exceptions to this rule. I find I don't mind high necklines as much if there is also length to balance it out. (You may remember my recent a-ha! moment in which I realized I'm short-waisted. I also suspect that I'm long from shoulder to bust, as I always have to wear my bra straps on nearly the longest length available - which may explain why I feel this need for length to balance a high neckline?)
I'm unsure at this point if I will feel the need to lower the neckline on the Pendrell - or if the length of the blouse will balance it out for me. But it's an adjustment I'm definitely preparing myself to make! (I do think it would look quite pretty with a scoop neck.) I've also been reading Fit For Real People in anticipation of the full bust adjustment, and I have to say that so far I'm on the bandwagon with regard to that book. I'm more of a visual/kinesthetic learner and I sometimes I have trouble understanding what to do from written instructions, but that book is very straightforward and I think I understand how to apply their methods. Here's hoping!
I had originally planned on making Sencha first, as I anticipate having to make fewer adjustments. However, I'm having a heck of a time finding the right fabric! But I know exactly what I want for Pendrell and where I'm going to get it, so it's jumped to the front of the queue. I'm going to pick up the fabric (and some muslin) after work tomorrow. I'm so excited!
Sunday, January 2, 2011
Field Trip: Fabricana
A few days ago I checked out Fabricana for the first time. I can't say I was blown away exactly, but it certainly is a big improvement over Fabricland! Especially considering you don't need to purchase the dreaded membership to take advantage of sale prices.
(I also determined that yes, Atex Fabrics has good prices! Charmeuse at Fabricana was $18-$25/meter for a 44" width, as compared to $14/meter for a 60" width at Atex. Looks like I know where I'm going to pick up my fabric for the Pendrell blouse!)
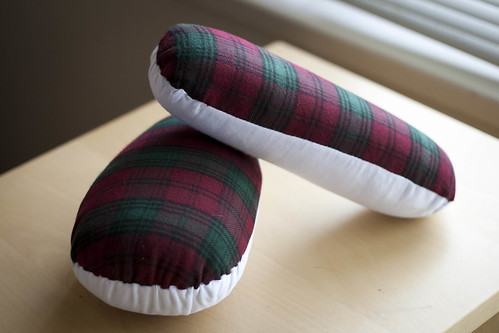
They were having a 50% off sale on notions, so I used the opportunity to buy all the bits and pieces I'm missing or running low on. I was so proud of myself, I even had a list. The best purchase I made was definitely the tailor's ham and sleeve roll pictured above! I'm feeling totally prepared now... welcome, 2011! Let's get started!
Subscribe to:
Comments (Atom)
